Table of Contents
Looking to cut the cord without losing access to your favorite channels? Over-the-air (OTA) TV antennas are an affordable way to get free, high quality local channels, including news, sports, and entertainment. Whether you’re interested in HD broadcasts today or preparing for future 4K NextGen TV, the right antenna setup can make a big difference.
Why Choose an Outdoor TV Antenna?
Better Signal and More Channels
Outdoor antennas offer stronger signal reception because they are free from indoor walls and electronic interference. This means clearer picture and sound. They also capture signals from much farther away, often up to 150 miles, giving you access to more channels, which is especially helpful in rural or suburban areas.
Save Money Compared to Cable and Streaming
After the initial purchase, outdoor antennas have no monthly fees. You can watch local channels, news, sports, and weather for free. This can save you thousands each year compared to cable or streaming services. Plus, antennas often work during power or internet outages, so you stay connected during emergencies.
What to Consider Before Buying
- Location: The closer you are to broadcast towers, the better the signal. Use tools like the FCC’s DTV Reception Maps to check available channels.
- Terrain and Obstacles: Trees, hills, or tall buildings can block signals. A higher-mounted antenna helps overcome these challenges.
- Antenna Features: Look for models that support both UHF and VHF frequencies, have a range suitable for your area, and choose between directional (points toward towers) or omnidirectional (picks up from all sides).
- Installation: Outdoor antennas need roof, attic, or mast mounting, but the performance benefits make it worthwhile.
- Local Rules: Check for HOA or neighborhood restrictions before installing.
In Short:
An outdoor TV antenna delivers stronger reception, more channels, and long term savings compared to cable or streaming. Just be sure to choose the right model for your location and setup.
Types of TV Antennas Explained
Indoor vs. Outdoor Antennas
| Type | Pros | Cons | Best Scenario |
| Indoor | – Easy to install- Lower cost- Unobtrusive | – Limited range (20–30 miles)- Prone to interference from walls and electronics- Fewer channels if towers are far or blocked | Urban locations with strong signals, apartments, renters, or homes close to broadcast towers |
| Outdoor | – Superior signal strength & quality- Wider channel selection (up to 80+ miles)- Less interference- Reliable in rural/suburban areas | – Higher upfront cost- More complex installation- May require roof/mast mounting- May face HOA restrictions | Rural/suburban homes, places with weak signals, or spots with many physical obstructions |
When to choose which:
- If you live close to broadcast towers and want minimal setup, or are in a rental/apartment, indoor antennas are often sufficient.
- In areas far from towers or where signal quality suffers due to obstacles, outdoor antennas are preferred and may be essential for reliable reception.
Amplified vs. Non Amplified Antennas
- Amplified Antennas:
Feature built in signal boosters that amplify weak signals. These are helpful in rural areas, or when there’s a long cable run between the antenna and your TV. Amplification can help with weak signals but may cause issues (“over amplification”) if you live close to towers, hurting reception for strong signals. - Non Amplified Antennas:
Passive antennas without amplification. Ideal when you’re near transmitters with strong signals. More reliable for strong signals, not prone to interference or signal overload issues.
What amplification does and when it helps:
Amplification boosts weak signals, helping overcome loss from long cables or distant towers, but is unnecessary and sometimes detrimental, if you already have strong nearby signals. Use amplification sparingly and only when needed, especially in rural or low signal areas.
Directional vs. Multi Directional Antennas
| Type | Pros | Cons | Best Use Case |
| Directional | – Pulls signals from far away- Resists interference- Best for strong signals in one direction | – Needs precise aiming- Doesn’t pick up signals from other directions | Rural areas or where towers are clustered in one area |
| Multi-directional / Omnidirectional | – Receives signals from multiple/all directions- Easy to install, no aiming | – Shorter range- More susceptible to interference (multipath distortion) | Urban areas/towers spread around, need to catch signals from different directions |
Which is better for your situation:
- Directional: Choose if you know where towers are and they’re in the same direction, especially for long range or rural settings.
- Multi directional/Omnidirectional: Use if towers are scattered or you want flexible, easy setup in urban areas.
What is NextGen TV (ATSC 3.0) and Why It Matters?

NextGen TV, also known as ATSC 3.0, is the newest broadcast standard. It offers 4K Ultra HD picture, immersive audio, advanced emergency alerts, and interactive features like targeted content.
Do You Need a New Antenna?
No. Any modern indoor or outdoor antenna can receive ATSC 3.0 signals. The key requirement is an ATSC 3.0 compatible tuner or set top box. Broadcasters will keep ATSC 1.0 for several years, so you have time to upgrade.
Why Is It Important?
NextGen TV ensures future ready access to higher quality broadcasts and interactive features. Your antenna will still work; the main upgrade is the tuner.
Step 1: Gather Your Tools and Supplies
Essential Tools and Supplies
- Antenna Mount or Bracket: For roof, wall, attic, or pole installation.
- Coaxial Cable (RG6 or RG11): RG6 is standard for most setups.
- Grounding Wire and Clamp: Protects against lightning and electrical surges.
- Screws, Bolts, Anchors: For securing the mount.
- Wrench or Socket Set: To tighten bolts.
- Drill and Drill Bits: Needed for mounting on wood, brick, or masonry.
- Mast (if required): Raises the antenna for better reception.
Optional Accessories
- Signal Amplifier: Boosts weak signals or compensates for long cable runs.
- Antenna Rotor: Lets you change antenna direction remotely.
- Surge Protector: Shields your TV and components from power surges.
- Splitter or Combiner: For connecting multiple TVs.
- Weatherproofing Tape or Sealant: Protects connections from moisture.
Step 2: Plan Before You Install
Check Signal Availability
Use tools like:
- FCC DTV Reception Maps: Shows signal strength by color and lists stations near you.
- AntennaWeb: Provides a map of tower locations and channels with compass directions.
- Other Options: TV Fool, Channel Master, and Antop for tower details and coverage.
- Mobile Apps: Apps like Digital TV Antennas show tower positions and compass bearings.
Understand Obstructions
A clear line of sight to towers gives the best signal. Trees, hills, and buildings can block or weaken signals. Mount the antenna as high as possible and point it toward transmitters. In areas with scattered towers, a multi directional antenna can help, but elevation is still important.
Plan for Safety
Avoid working in bad weather. Use a stable ladder on level ground and never work alone. Ground the antenna and coaxial cable properly to prevent lightning damage, following local safety codes.
Step 3: Find the Best Spot for Your Antenna
Best Mounting Locations
- Roof or Chimney: Highest elevation for the clearest signal. Ideal for rural or fringe areas. Needs careful installation, grounding, and weatherproofing.
- Attic: Safer and hidden from view, but roofing materials can weaken signals, especially with metal barriers.
- Wall, Side of House, or Balcony: Easier and safer to install, good for apartments, but usually lower and may face obstructions.
For indoor antennas, place them near an upper-story window facing the towers and avoid metal or reflective coatings.
Why Does Height Matters?
The higher the antenna, the better the signal. Roof or attic installations usually outperform wall or ground level setups, especially where trees or buildings block the view.
Distance and Direction
Use tools like AntennaWeb or FCC maps to locate towers. Point directional antennas toward the towers you want. For multi directional models, position them where they can receive from several directions.
Avoid Interference
Stay clear of metal roofs, radiant barriers, power lines, large metal objects, and heavy appliances. A clear path to towers ensures the best reception.
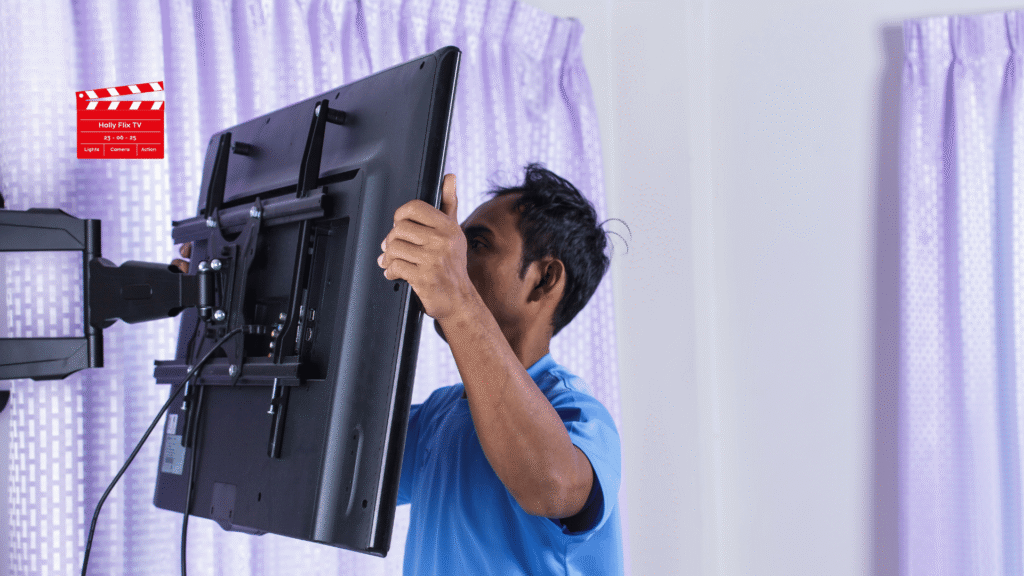
Step 4: Install Your Outdoor TV Antenna
Mounting the Antenna
Install the antenna on a mast or mount at the highest point of your roof, wall, or chimney. Follow the manufacturer’s instructions for assembly. Use clamps and bolts to secure it firmly and prevent movement. Point the antenna toward the broadcast towers and add guy wires if extra stability is needed.
Running the Coaxial Cable
Use outdoor-rated RG6 coaxial cable. Secure it along walls or under eaves with clips, avoiding sharp bends. Create a drip loop near entry points to stop water from entering. Seal any holes with exterior caulk. Use quality F-type connectors for tight, corrosion free connections.
Grounding the Antenna
Ground the mast and cable to protect against lightning and surges. Attach a grounding wire to the mast and connect it to a grounding rod or your home’s electrical ground, following local codes. Use a grounding block for the coax cable. Ensure all connections are tight for continuous protection.
Step 5: Connect and Set Up Your TV
Connect the Antenna to Your TV
Attach the coaxial cable from the antenna to the ANT IN port on your TV or set-top box. If using a box, connect it to the TV with an HDMI cable. Make sure all connections are tight, then select the TV or antenna input and run a channel scan to find available stations.
Using a Splitter or Amplifier
For multiple TVs, use a splitter to send the signal to each device. If signals are weak or cable runs are long, install a signal amplifier between the antenna and splitter. Avoid amplifiers if towers are close, as this can distort the signal.
Powering an Amplified Antenna
Plug the amplifier’s power supply into an outlet or use the built in power inserter as directed by the manufacturer.
Step 6: Scan for Channels and Optimize Reception
How to Scan for Channels
- Open the TV Menu or Settings.
- Go to Channels, Setup, or Tuner Setup.
- Select Antenna or Air (not Cable).
- Choose Auto Scan or Auto Program.
- Wait for the scan to finish and save channels.
Brand Examples:
- Samsung: Menu > Channel > Auto Program > Air > Start Scan
- LG: Home > Settings > Channels > Auto Tuning
- Vizio: Menu > Setup > Re-Tune
- Panasonic: Menu > Setup > Antenna > Scan
- Sharp: Quick Setup > Channel > Auto Channel Scan
- Philips: Home > Setup > Search for Channels
For other brands, look for antenna or channel settings and select auto scan.
Optimize Antenna Position
- Move the antenna slowly and adjust its direction.
- Rescan after each adjustment to check for new channels.
- Raise the antenna or try different spots for better reception.
- Even small adjustments can improve signal quality.
When to Rescan
- After changing antenna position.
- After bad weather or seasonal changes.
- When broadcasters update or add new channels.
Regular rescanning and small adjustments help keep the best signal and channel lineup.
Tips for Improving Reception
Using a Signal Booster
A signal booster strengthens weak TV signals for better picture quality and more channels. Install it as close to the antenna as possible to prevent signal loss. Use one for long cable runs or distant towers, but avoid it if your signal is already strong, as too much amplification can cause distortion. Some boosters allow you to adjust gain for best performance.
Rotating the Antenna
For directional antennas, small adjustments can make a big difference. Aim toward broadcast towers using a compass app. A motorized rotor lets you fine tune without climbing the roof. Test different angles and heights for the best reception.
Weatherproofing Connections
Use outdoor-rated coaxial cables. Seal connectors and entry points with weatherproof tape or silicone. Add drip loops to stop water from entering your home. Check cables regularly for wear and corrosion.
Avoiding Common Mistakes
Limit splitters, as each one weakens the signal. Use a distribution amplifier if you need multiple TVs. Avoid long cable runs without amplification. Never use indoor antennas outside, and make sure the system is properly grounded.
Basic Troubleshooting for TV Antennas
No Signal
Check that the TV input is set to Antenna/Air. Ensure all connections are secure and free from damage. Try the antenna on another TV. Bypass amplifiers or splitters and rescan channels.
Weak Signal
Reposition or rotate the antenna toward towers. Remove extra splitters. Use high-quality coaxial cable. Add a booster if you’re far from towers.
Pixelation or Intermittent Picture
Tighten connections and remove interference sources like large metal objects or electronics. Rescan channels after adjusting the antenna. Weather issues can also cause temporary problems.
Isolating the Issue
Test the TV with another antenna or input source. Replace the coaxial cable if needed. Check the antenna for damage or test it at another location.
When to Call a Professional
Signs DIY Isn’t Working
- Persistent weak signal or no reception after troubleshooting
- Unsafe access points like steep roofs or high attics
- Complicated wiring or multiple TV setups
- Difficulty finding the right antenna placement or direction
- Uncertainty about grounding and electrical safety
- Lack of proper tools or equipment
- Wanting to avoid injury or property damage
Complex Installations That Need Experts
- Multi-story homes with tricky roof structures
- Commercial buildings with long cable runs and multiple TVs
- Systems using rotors or multiple antennas
- Locations with tough terrain, heavy interference, or strict building codes
Benefits of Hiring a Professional
- Safe, code-compliant installation
- Optimized signal quality with expert tools
- Saves time and eliminates frustration
- Warranty and ongoing support
- Future-proof solutions with the latest technology
When in doubt about safety, complexity, or performance, calling a professional ensures a reliable and hassle free setup.
Future Proofing Your Setup
ATSC 3.0 and NextGen TV
NextGen TV brings 4K resolution, HDR, better sound, advanced alerts, and interactive features. Most antennas already support ATSC 3.0, but you’ll need a compatible TV or tuner. Current ATSC 1.0 broadcasts will continue for years, so you can upgrade gradually.
Adding DVR and Streaming Options
Devices like Tablo let you record OTA channels and stream them to TVs, phones, or tablets via Wi-Fi. A strong home network improves performance. ATSC 3.0 DVRs such as ZapperBox support 4K and encrypted channels for future ready setups.
Long Term Maintenance
- Check mounts, cables, and connectors regularly
- Weatherproof outdoor components annually
- Remove new obstructions like trees or buildings
- Update TV or tuner software
- Upgrade hardware as new technology becomes available
Planning ahead ensures great reception today and smooth transitions to future technology.
Conclusion
Choosing the right antenna and setting it up correctly ensures reliable access to free HD channels and keeps you ready for upcoming 4K broadcasts with ATSC 3.0. With a little planning, you can enjoy top quality TV without monthly fees right from your home.
Frequently Asked Questions
How far can an outdoor antenna reach?
Most outdoor antennas work well within 70–100 miles of broadcast towers. Range depends on height, terrain, and obstructions. Claims of 150+ miles are unrealistic because of the Earth’s curvature and signal limits.
Can I use an outdoor antenna indoors?
Yes, but reception is usually weaker indoors due to walls and interference. Attics or windows facing towers work best, but outdoor placement delivers the strongest signal.
Do I need an amplifier?
Use an amplifier only if signals are weak or you have long cable runs. If towers are nearby, an amplifier can cause distortion. Start without one and add it only if needed.
How can I watch channels in HD or 4K?
Most OTA broadcasts are in HD (720p or 1080p). 4K is part of ATSC 3.0 (NextGen TV) and is slowly rolling out. Ensure your TV has a digital tuner (ATSC 1.0 for HD, ATSC 3.0 for 4K).
A properly installed outdoor antenna will give you free HD channels now and prepare you for future 4K broadcasts.

Aditya Kumar B. is your go to lifestyle curator sharing daily entertainment rich tips and tricks for streamlined, joyful living. Avidly exploring the worlds of streaming and leisure, Adi blends chill vibes with thoughtful recommendations, helping audiences stay on top of trending shows, streaming hacks, and laid back self care routines. Whether you’re searching for your next binge worthy series, the perfect TV setup, or clever ways to unwind, Aditya has your back making every moment feel relaxed and effortlessly enjoyable.